LDR with Arduino
Published
Using a light-dependent resistor (LDR) with Arduino to measure brightness
LDR Working Principle
LDR stands for Light-Dependent Resistor. As its name suggests, it is a resistor whose resistance changes depending on the amount of light exposed to it. It also has many other names, such as photoresistor and photocell.
An LDR works off the principles of photoconductivity, an optical phenomenon in which a material’s conductivity increases when it absorbs light.
When there is more energy in the light that the LDR is exposed to, more current flows through it, so its resistance decreases.
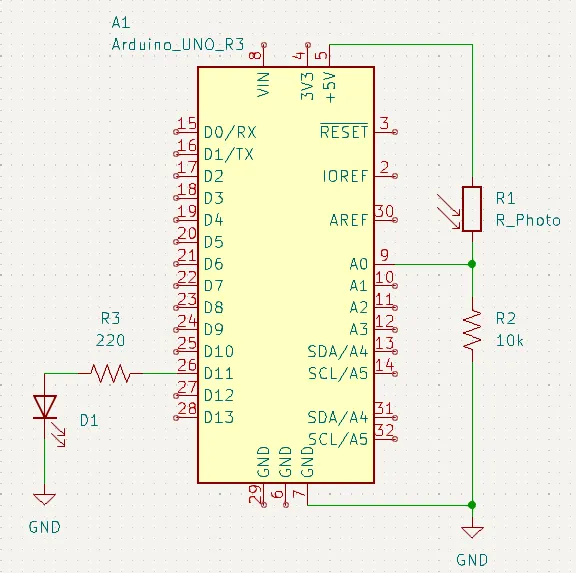
Schematic
Code
Since the LDR is an analog device, you can compare it to a predetermined threshold. The code below will turn on an LED if the reading is above 500:
Note | This program yields best results in a dark room and with a flashlight to provide a large difference between low and high readings. |
// Pin constants
#define LDR_PIN A0
#define LED_PIN 11

#define THRESHOLD 500

void setup() {
  pinMode(LED_PIN, OUTPUT); // set LED pin as output
  Serial.begin(9600); // Open serial port
}

void loop() {
  int sensorValue = analogRead(LDR_PIN); // Read LDR value

  if (sensorValue > THRESHOLD) { // LDR reading above 500
    digitalWrite(LED_PIN, HIGH);
  } else { // LDR reading below 500
    digitalWrite(LED_PIN, LOW);
  }
  Serial.println("LDR Reading: " + String(sensorValue)); // Print readings to serial monitor

  delay(2); // Let ADC settle
}
Serial monitor output
LDR Reading: 805
LDR Reading: 802
LDR Reading: 797
LDR Reading: 799
LDR Reading: 804
LDR Reading: 802
LDR Reading: 797
LDR Reading: 799
LDR Reading: 803
LDR Reading: 802
LDR Reading: 797
LDR Reading: 799
LDR Reading: 803
LDR Reading: 802
LDR Reading: 796
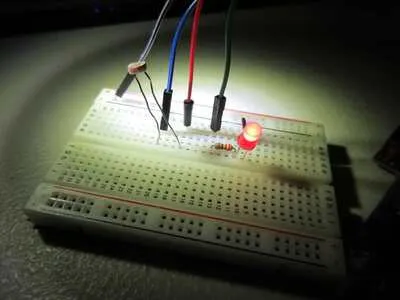
Images
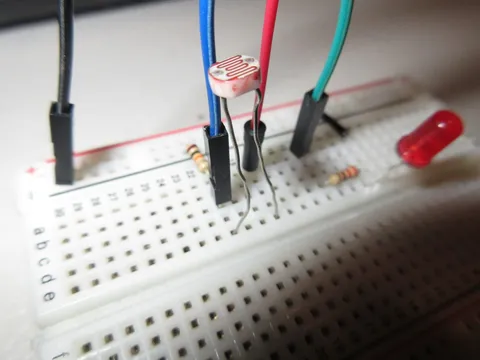
| Breadboard top view | Dark room | With a flashlight |
|---|---|---|
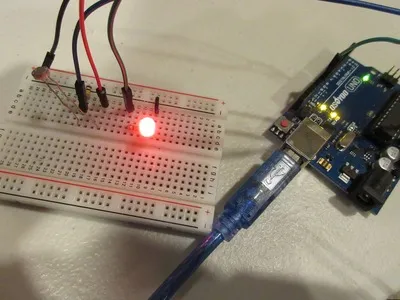 | 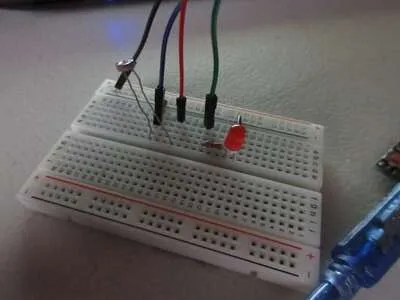 |  |